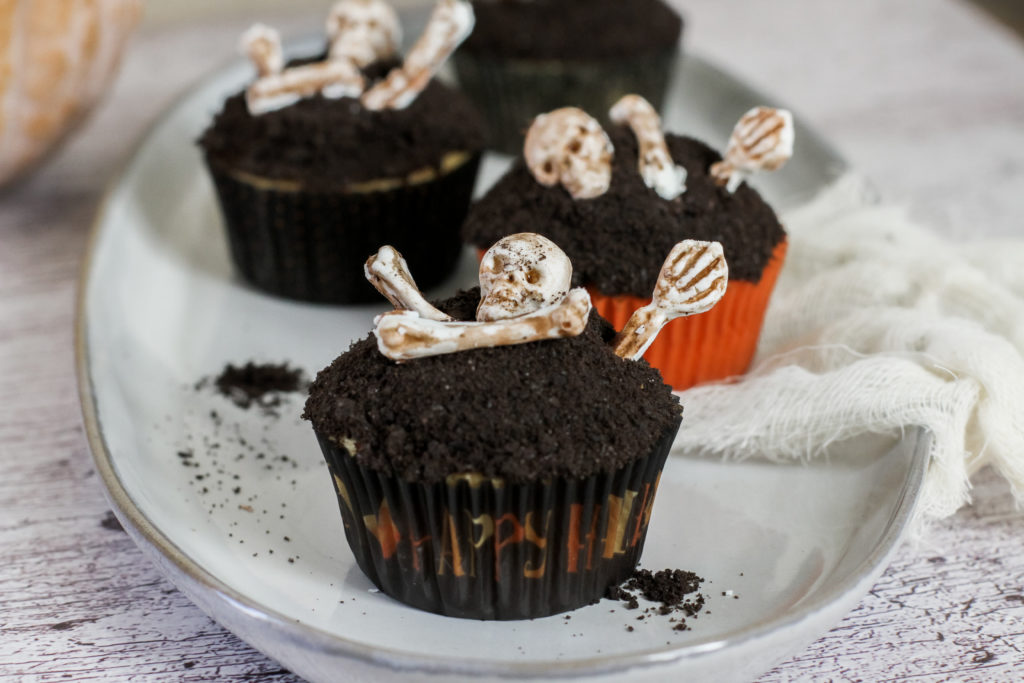
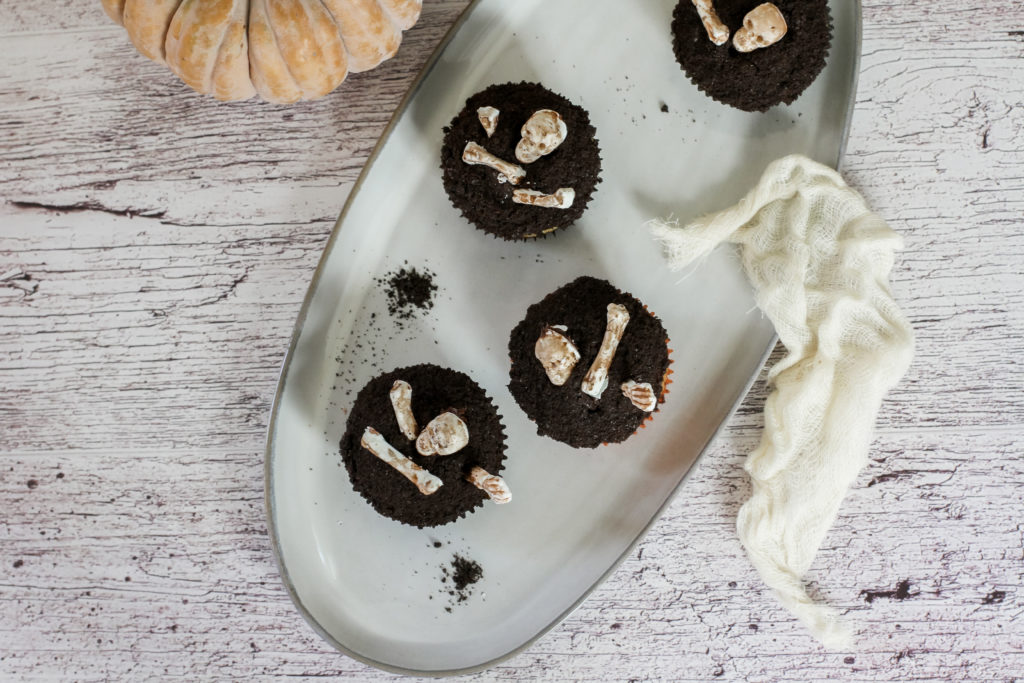
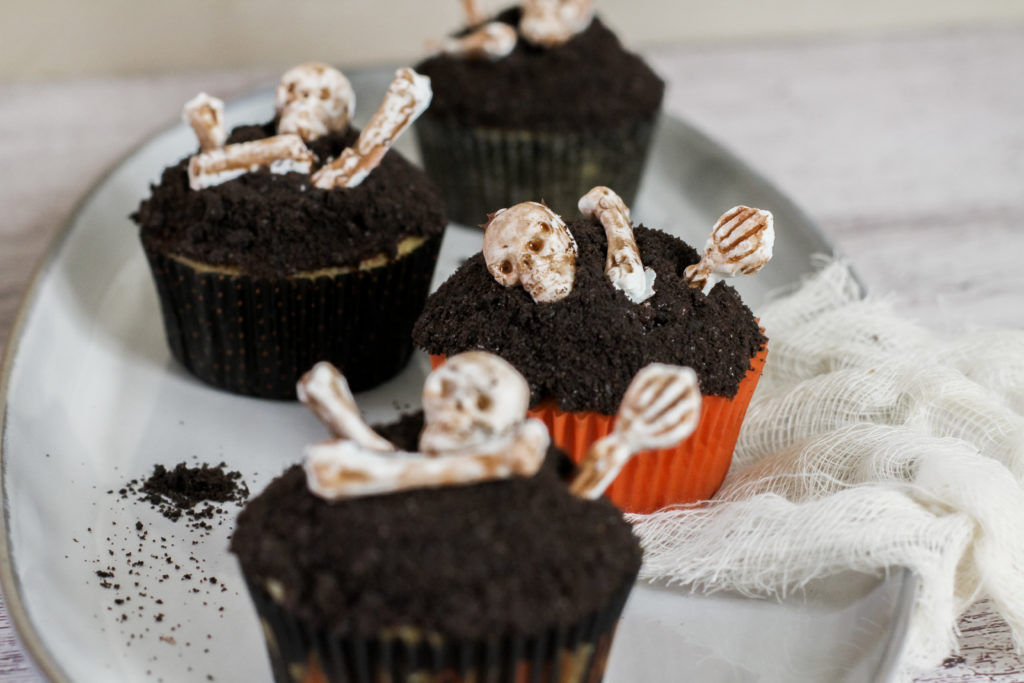
Halloween Skeleton Cupcakes

It’s officially October, my favorite month of the year! Here in Texas, the temps are no longer consistently 102 degrees (we get a reprieve of low 90’s!) and Halloween season is upon us! (If I’m being honest, Halloween season started for me mid September.) I knew I had to mark this occasion by baking up some delicious treats.
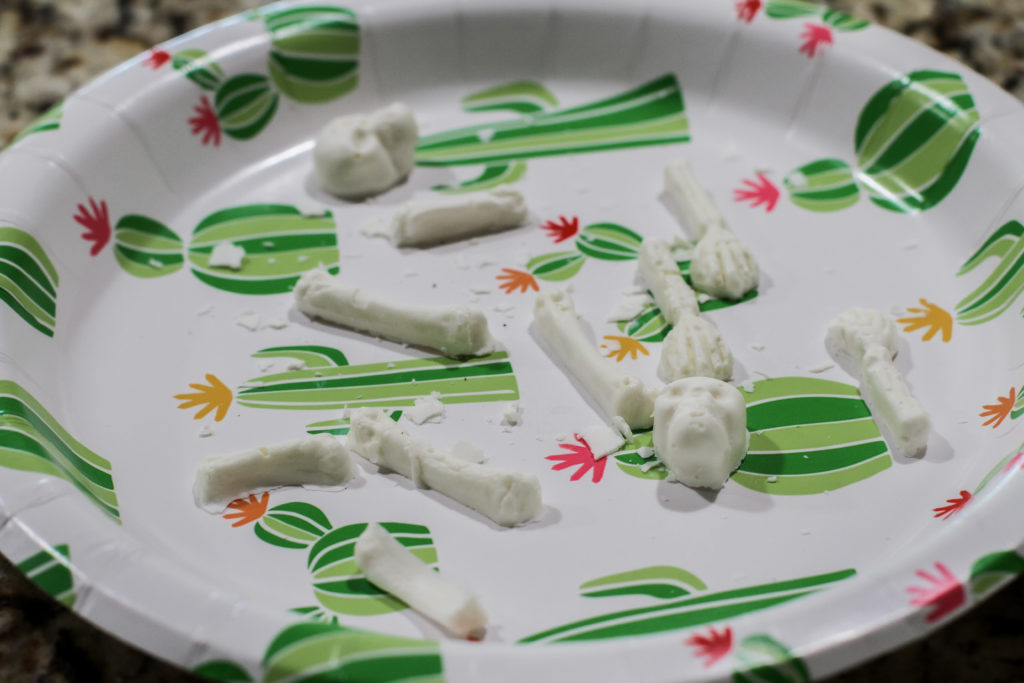
I’d never tried my hand at chocolate molds when it came to baking so I figured I would give it a try with these skeleton cupcakes. It wasn’t too hard, but it was time consuming, so I made these cupcakes over the course of two days. The first day I made the skeleton body parts and crushed the Oreos for the “dirt.” The second day I made the cupcakes and decorated them.
Making the molds
I ordered the silicone mold from Amazon. It was easy to use and even came a couple days earlier than promised. If I had to do it over again, would order another one to speed up the process. It took about 25-30 minutes of time for the chocolate to be in the freezer in order to make sure the it didn’t break when you gently pop them out. So that basically meant it was about 30 minutes per cupcake. I used these white chocolate candy melts.

Aging the chocolate skeletons
In order to make the skeletons look old and ancient, I diluted some brown and black food coloring in a tablespoon of vodka. Yes, vodka. Use the cheapest one you have. The alcohol evaporates leaving the coloring behind. Put a few drops of coloring in at a time and paint a small corner of a piece of chocolate. Adjust as needed. I ended up needing more black because the brown kept coming out with a reddish tint and that wasn’t the look I was going for.
I used a small paintbrush to paint on the chocolate making sure to get in the tiny crevices. Once I was done, I stuck the little body parts back in the fridge to make sure they stayed cold and didn’t melt. Put them on a plate or in a container making sure they do not touch.

Cupcake Time
Use your favorite recipe for the cupcake batter (no shame, I used good ol’ Betty Crocker yellow cake mix) and chocolate icing to make your cupcakes. There are a million good yellow batter recipes out there. This one is tried and true. If you prefer vanilla or cream cheese icing, you will have to add more brown and black food coloring to darken the icing. Once you’ve iced the cupcakes, you will need to immediately put the Oreo crumbs on them while the frosting hasn’t hardened too much.
Fill a bowl with a wide rimmed bowl with your crushed Oreos, turn the cupcake over and dip the top into the Oreos. Rotate it around a few times to make sure you get “dirt” on all areas.

Are you like me and immediately switch into Halloween mode late September or are you patient enough to wait until October 1st? If you do wait, I’m in awe of your patience and restraint.
I would love to see these cupcakes if you end up making them for your friends and family! Share, share, share with me! Tag me on IG, so I can see all your ghouly masterpieces! @hersoutherncharm
I’ve got some more Halloween fun scheduled here so make sure to subscribe to be notified when I put new stuff out! 🙂


